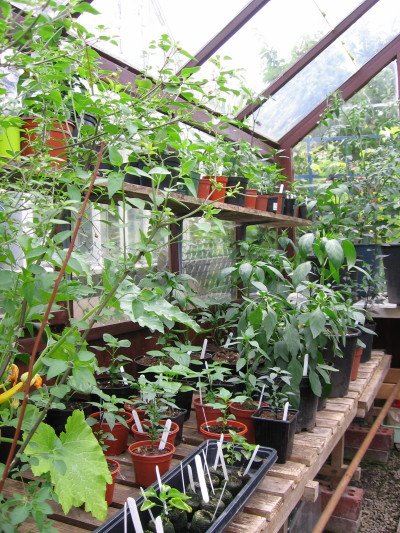
June - Potting On Seedlings and Young Plants
 The mechanics of transplanting seedlings and ‘potting on’ young chile plants is always a hot topic on chile forums and a source of concern to new growers in particular. Although one false move can lead to disaster, the process is relatively simple and if you follow a couple of general rules you won’t go far wrong.
All plants or more specifically their roots need sufficient room to grow strong and healthy. However transplanting seedlings too soon can cause transplant shock and ultimately bring death to your little darlings. Too late and growth can become stunted resulting in miniaturised or weak plants and ultimately less chile pods.
When to pot on seedlings:
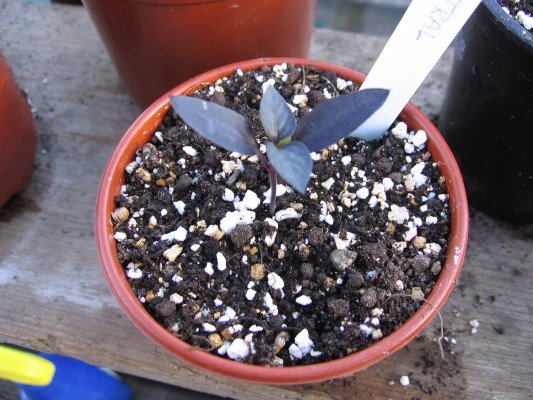
Chile seedlings produce sets of leaves in pairs. The first set of leaves are called the seed leaves, the next set are the first true set of leaves. Once your seedlings have developed several sets of true leaves you will need to prick them out and transplant them into a larger pot to give them more room to grow.
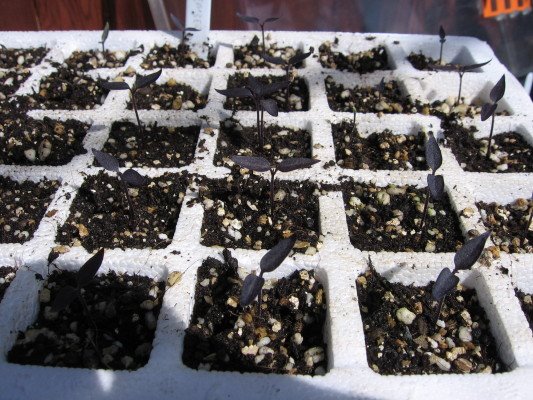 I tend to ‘pot on’ seedlings when they have at least two sets of true leaves, any earlier and the root systems tend to be too fragile and seedlings can quickly die from root disturbance / transplant shock. When transplanting seedlings (and potting on plants) do so in the evening or on a cloudy day. This reduces the chance of the plant getting scalded by the sun and gives roots the chance to settle into their new environment rather than battling to suck up nutrients and water to maintain the plant during periods of intense heat.
How?
Carefully prick out your seedlings (using a dibber or an old plastic plant label) and try to retain as much of the soil around the roots as possible to minimise root disturbance. If you aren't disturbing the soil around the roots they have no reason to even know they have been replanted and therefore unlike to suffer from transplant shock! 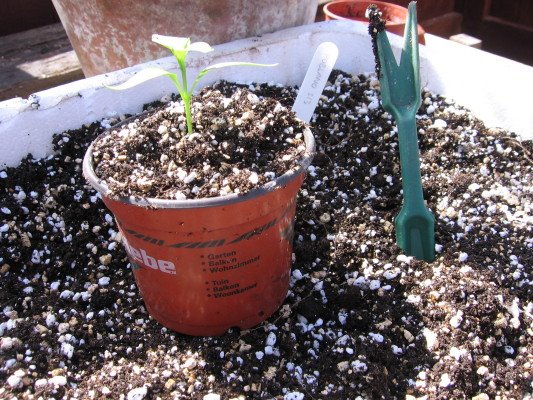
Always lift seedlings by their leaves, not their stems. Damaged leaves can be replaced; a damaged stem is normally terminal.
Fill the new pot completely with your soil mix (2 parts compost, 1 part vermiculite and 1 part perlite is a good mix) and then make a hole in the middle of the soil that's slightly bigger than the original root ball. Try not to compact the soil too much as this can inhibit root development. Chiles are from the same family as Tomatoes (the Solanaceae or Nightshade family) and like their genetic cousins they will make new roots, (although not to the same extent) along buried stems. So rather than disposing of leggy/spindly seedlings, try transplanting them deeper so that their stems are covered by the soil up to the base of the bottom cluster of leaves.
Lightly cover with soil and gently water them in. Don’t panic if seedlings wilt or leave curl up at this stage. This is quite common and providing the soil is not soaked and the roots damaged, they will recover in a few hours.
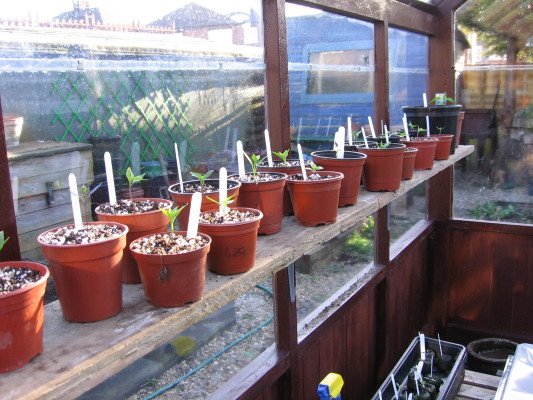
Do not be tempted to pot on seedlings and young plants into too big a pot too soon - another common source of premature chile death! I normally progress slowly through 4 pot sizes starting with small 9cm pots before moving up through 13cm, 20cm and finally onto 28cm (or 10 litre) pots for the larger varieties like Aji and Habanero. 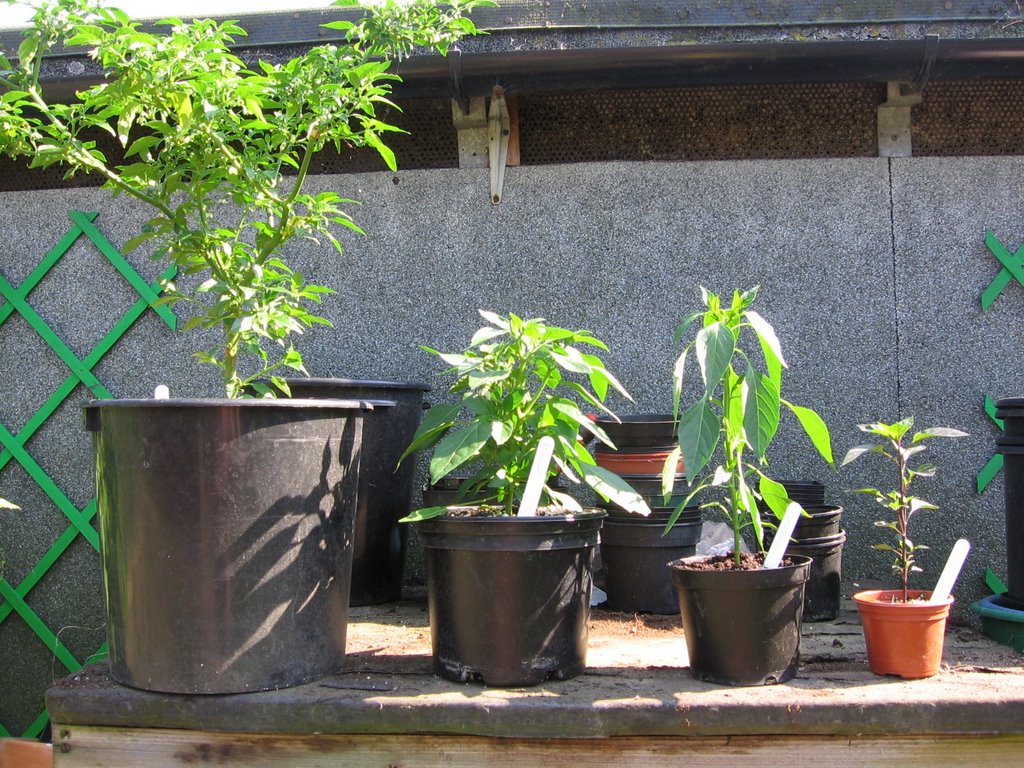 Wait until the root system begins to show through the bottom of the pot before moving them into larger pots. Plants ripe for potting on often dry out quickly and show signs of wilting.
In general, the larger the final pot, the larger the final plant although local growing conditions, the soil medium and the variety transplanted will also influence the final plant size. When potting plants into their final pots, mix in a small amount of fish, blood and bone fertiliser in to the soil mix to encourage root development and vegetative growth.
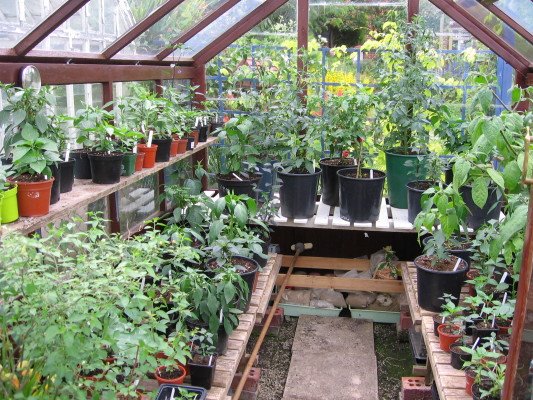
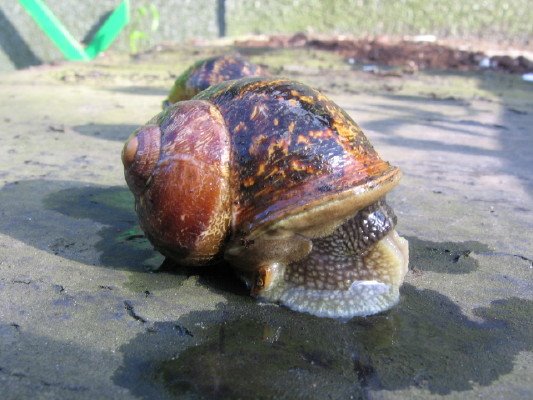
Black Plastic or Terracotta Plant Pots? Chile peppers love heat and growth (through warming of the soil) is greatly encouraged by using black plastic plant pots. Although they don’t look as nice as an aged terracotta pot, they are a hell of a lot cheaper to buy and also maintain soil moisture better during the long summer months. If you decide to use terracotta pots, covering the soil surface with a handful of gravel will help retain soil moisture. Sharp, angular gravel with a handful of crushed eggshells thrown in is also an excellent slug deterrent!
 One final word - heardening off
Whether your planning to grow your seedlings in pots or in the ground, you will need to get them ready for the outside world. Seedlings and plants raised indoors will need to be acclimatised to the outside conditions. You can do this by moving young plants outside for a few hours each day (after the danger of frost had passed) gradually increasing their time outside. Take care not to place young plants in direct sunlight or in areas exposed to strong breezes. Young leaves and stems need time to develop and are particularly vulnerable to sun scald and wind damage.
posted by thechileman
3 comments
![]()